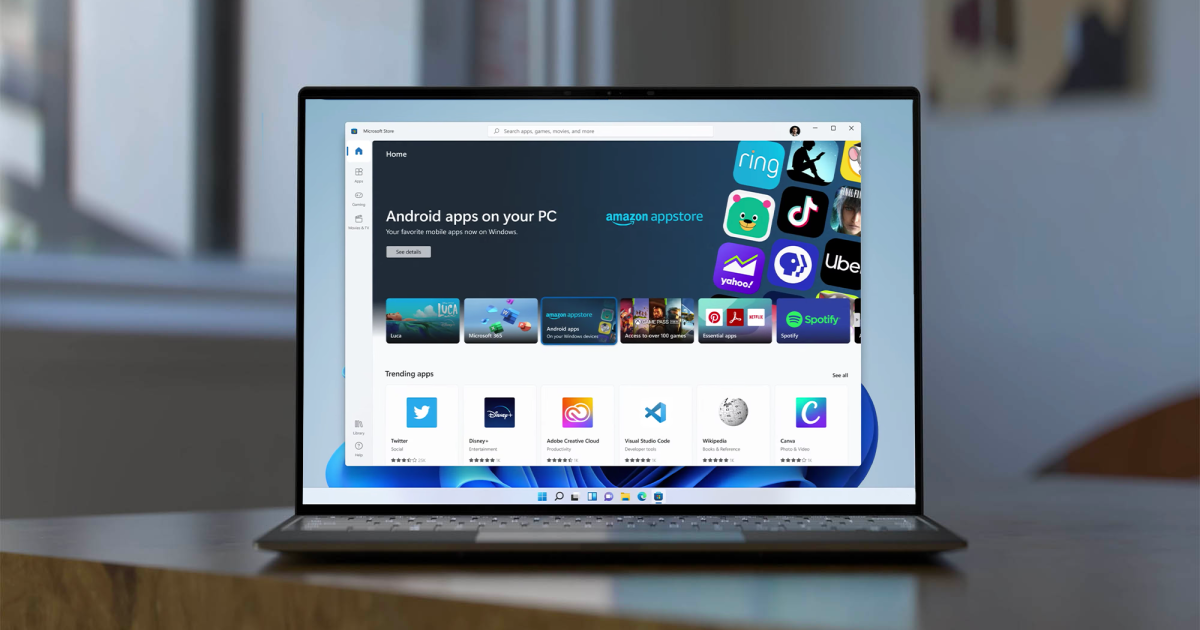
Home windows 11 helps Android apps via the Amazon App Retailer, which is without doubt one of the greatest variations between Microsoft’s newest working system and Home windows 10. It is not so simple as downloading Android apps and utilizing them, although. You might want to know learn how to set up Android apps on Home windows 11.
We’re specializing in natively putting in Android apps on Home windows 11 right here. You may nonetheless use Android apps on Home windows 10 via emulation, however we suggest putting in Home windows 11 if you wish to run Android apps via Home windows.
Find out how to set up Android apps on Home windows 11
For Android apps on Home windows 11, you want the Amazon Appstore and the Home windows Subsystem for Android. It’s best to have already got the Home windows Subsystem for Android put in with Home windows 11, however in case you do not, you’ll be able to re-download it from the Microsoft Retailer.
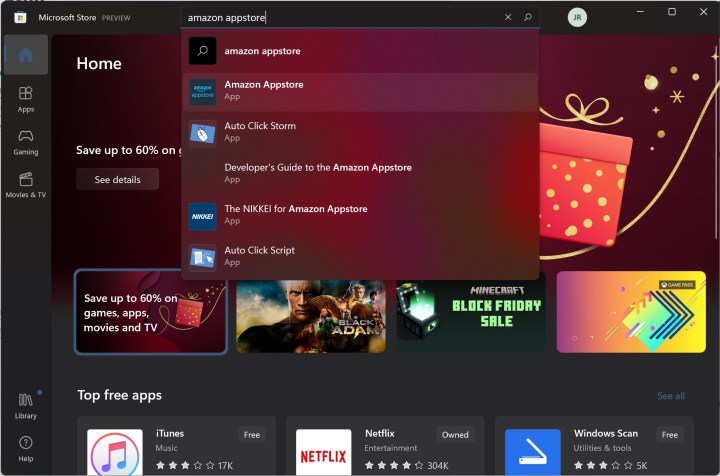
Step 1: Open the Microsoft Retailer by utilizing the Home windows + S keys and looking for “Microsoft Retailer.”
Picture used with permission by copyright holder
Step 2: Seek for “Amazon Appstore” and choose the app.
Picture used with permission by copyright holder
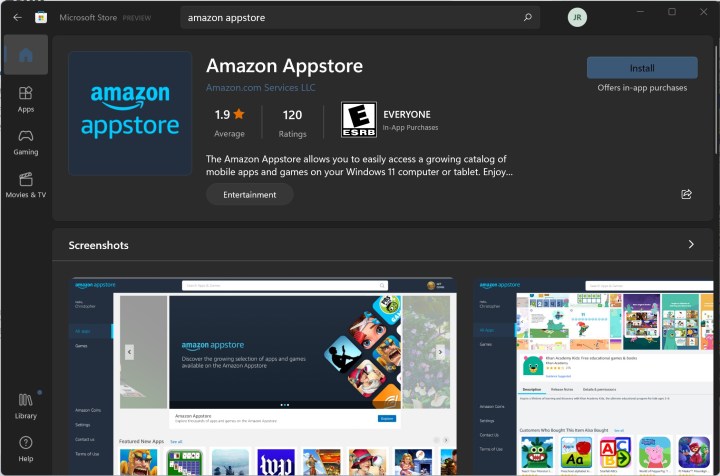
Step 3: Click on Set up.
Picture used with permission by copyright holder
Step 4: At this level, chances are you’ll must allow virtualization if you have not already completed it in your laptop. Home windows 11 can do that mechanically, in addition to arrange the Home windows Subsystem for Android if you do not have it put in.
When you see the immediate, choose Arrange > Obtain > Subsequent > Restart, following the prompts from the Microsoft Retailer. You may must restart your laptop.

Picture used with permission by copyright holder
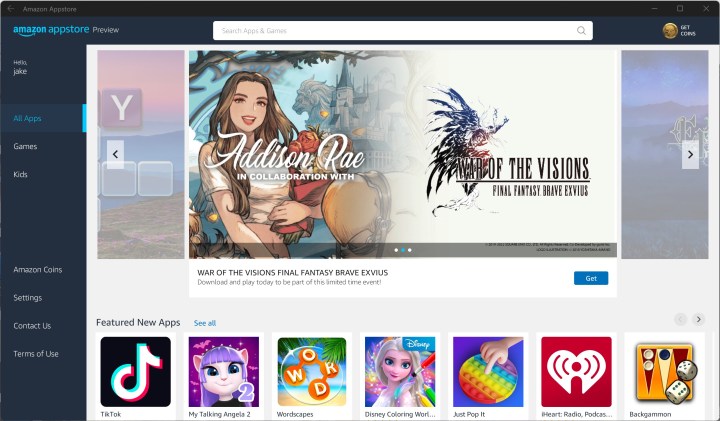
Step 5: As soon as your PC has absolutely restarted, the Home windows Subsystem for Android ought to seem after which the Amazon Appstore app ought to open mechanically afterward.

Picture used with permission by copyright holder
Step 6: Signal into your Amazon account (or create a brand new one), and begin downloading Android apps on Home windows!
Picture used with permission by copyright holder
You are restricted to the Amazon Appstore on Home windows 11, however there’s nonetheless an extended checklist of apps you’ll be able to obtain and use, together with TikTok and Comixology. If you wish to know the place to get began, be certain to learn our information on one of the best Android apps for Home windows 11.
If you wish to discover exterior of the Amazon Appstore, you’ll be able to sideload Android apps on Home windows 11. These apps aren’t formally supported, although, so proceed at your individual threat.
Editors’ Suggestions