Ever since Elon Musk purchased Twitter late final 12 months, there have been many alternative Twitter-esque social media apps popping up in each nook of the web. Whereas a few of them have appeared like viable choices for displaced social media customers, none of them have made main waves that might doubtlessly offset Twitter because the king of social media that it at the moment is. That’s, till now, with Instagram Threads.
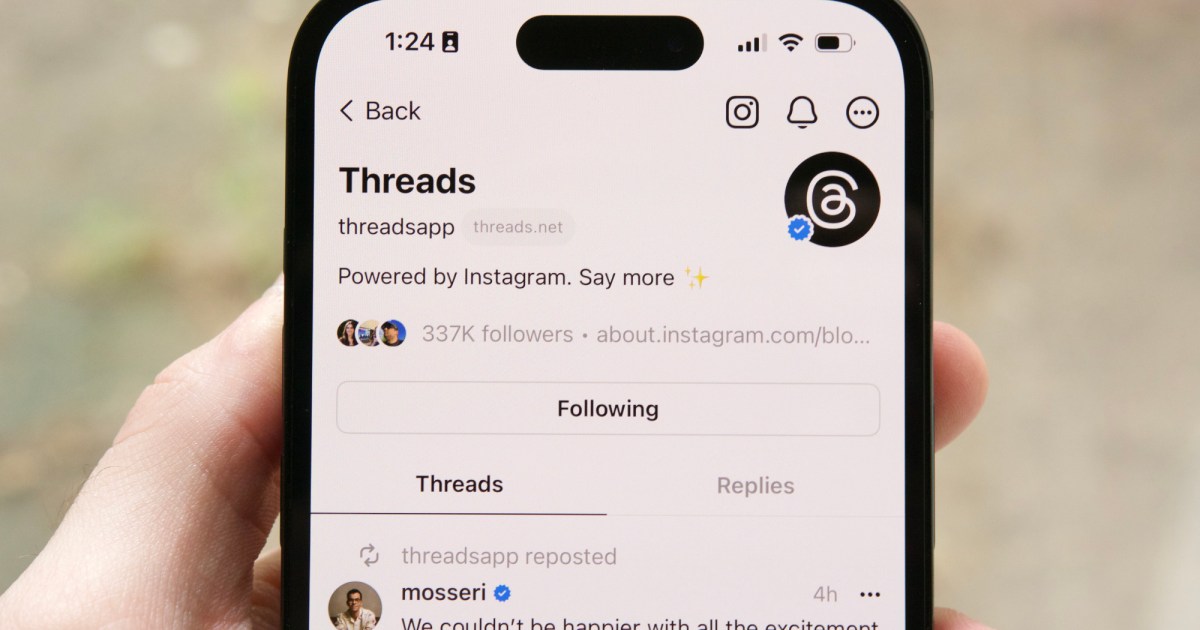
Instagram Threads is a brand new app made by Meta that acts as a Twitter companion to Instagram. Whereas Fb was Instagram’s text-based counterpart, Threads is rather more akin to Twitter due to its comparable design structure, plus its emphasis on shorter-form content material. It is also a platform the place you may get verified — however how do you get verified on Instagram Threads?
Joe Maring / Digital Tendencies
The way to get verified on Instagram Threads
Like Twitter and Instagram, Threads permits customers to turn out to be verified to substantiate their identities and entry some unique options. Just like Twitter’s verification course of, you will have to pay a month-to-month payment to be verified on Threads, so maintain that worth in thoughts as you get your verified Threads account arrange.
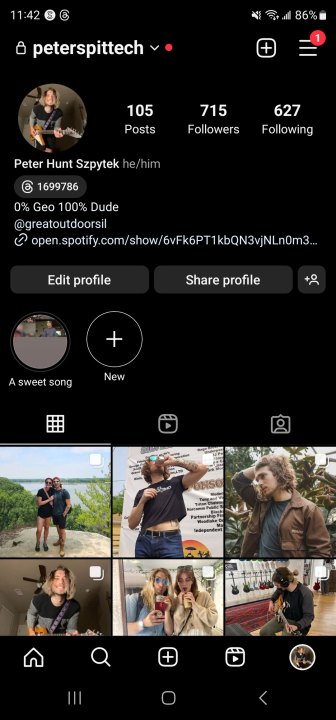
Step 1: With a purpose to be verified on Threads, you will have to first be sure to have an account. Along with your account made, you will not truly be capable of get verified by way of the Threads app. As an alternative, you will have to open the Instagram app and navigate to your profile.
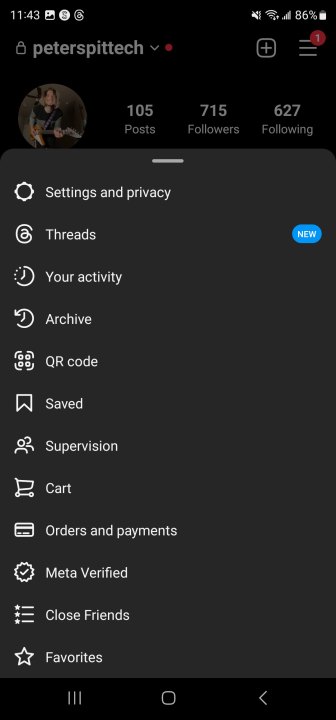
Step 2: As soon as you’ve got made it to your profile, choose the icon within the prime proper nook (the three horizontal traces) to drag up a menu.
Step 3: Within the menu, choose Meta Verified.
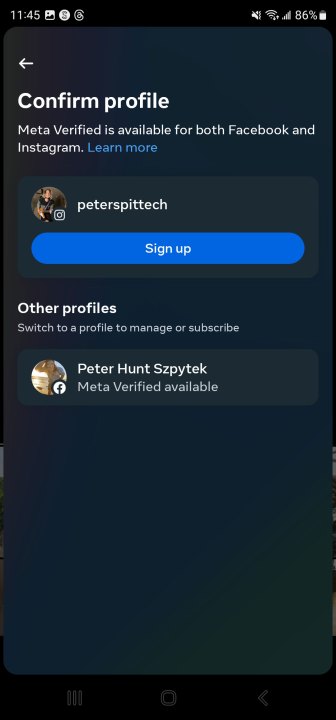
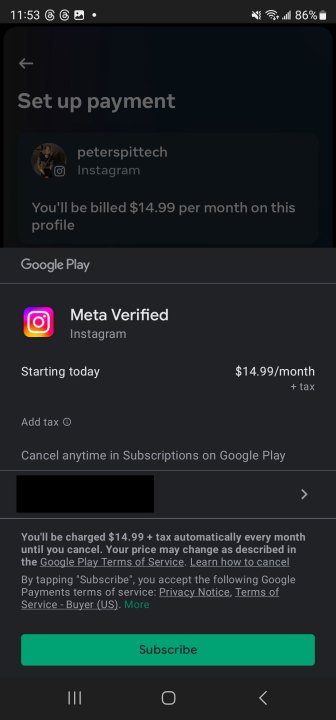
Step 4: As soon as you’ve got chosen it, you need to be taken to the Meta Verified menu within the Meta Accounts Middle, however if you happen to aren’t routinely taken there, choose Meta Verified as soon as extra on the backside of the display. On the Meta Verified menu, you can see all the options that include being verified. Choose Subscribe.

Step 5: On the subsequent web page, verify that the profile listed is the profile you need to enroll in the Meta verification course of. After getting, choose Enroll.
Step 6: Assessment the fee info on the brand new web page. To subscribe to Meta Verified, you will pay $15 per 30 days, which shall be billed to the cardboard on file. Should you’re okay with paying that, choose Pay now after which choose the cardboard you wish to pay with that is related along with your app retailer of selection. If you do not have a card on file, you will be prompted to enter one. As soon as you’ve got discovered your card, choose Subscribe.
Step 7: As soon as you’ve got subscribed, it’ll take Meta as much as 48 hours to evaluation your profile to just be sure you qualify for its verification course of. Take observe that to ensure that Meta to confirm you, you might want to have your full identify in your profile, have a profile image that clearly exhibits your face, and have 2FA enabled. If, for some cause, Meta doesn’t settle for your verification request, you’ll be refunded.
As quickly as your verification utility is accepted, you will be verified on your entire Meta accounts, which means you will get the blue checkmark on Fb, Instagram, and Threads.
Editors’ Suggestions